Masonry Repairs Suffolk & Nassau County, NY

Your Brick and Stone, Fixed Right

When winter leaves your masonry crumbling or cracked, you need repairs that actually last. Licensed crew, honest pricing, and work that holds up to Long Island’s weather.

Licensed and Insured Crew

You're working with professionals who carry proper credentials and insurance, not unlicensed operators who disappear when problems arise.

Owner-Backed Accountability

Niko personally ensures every job meets standards. If you're not satisfied, he makes it right—no runaround, no excuses.

Professional Grade Equipment

We use commercial equipment built for masonry work, not homeowner tools that compromise quality or take twice as long.

Transparent Honest Estimates

You get clear pricing based on what actually needs fixing. No upselling, no surprise charges, no pressure tactics.

Brick and Stone Repair Experts in Suffolk & Nassau County, NY

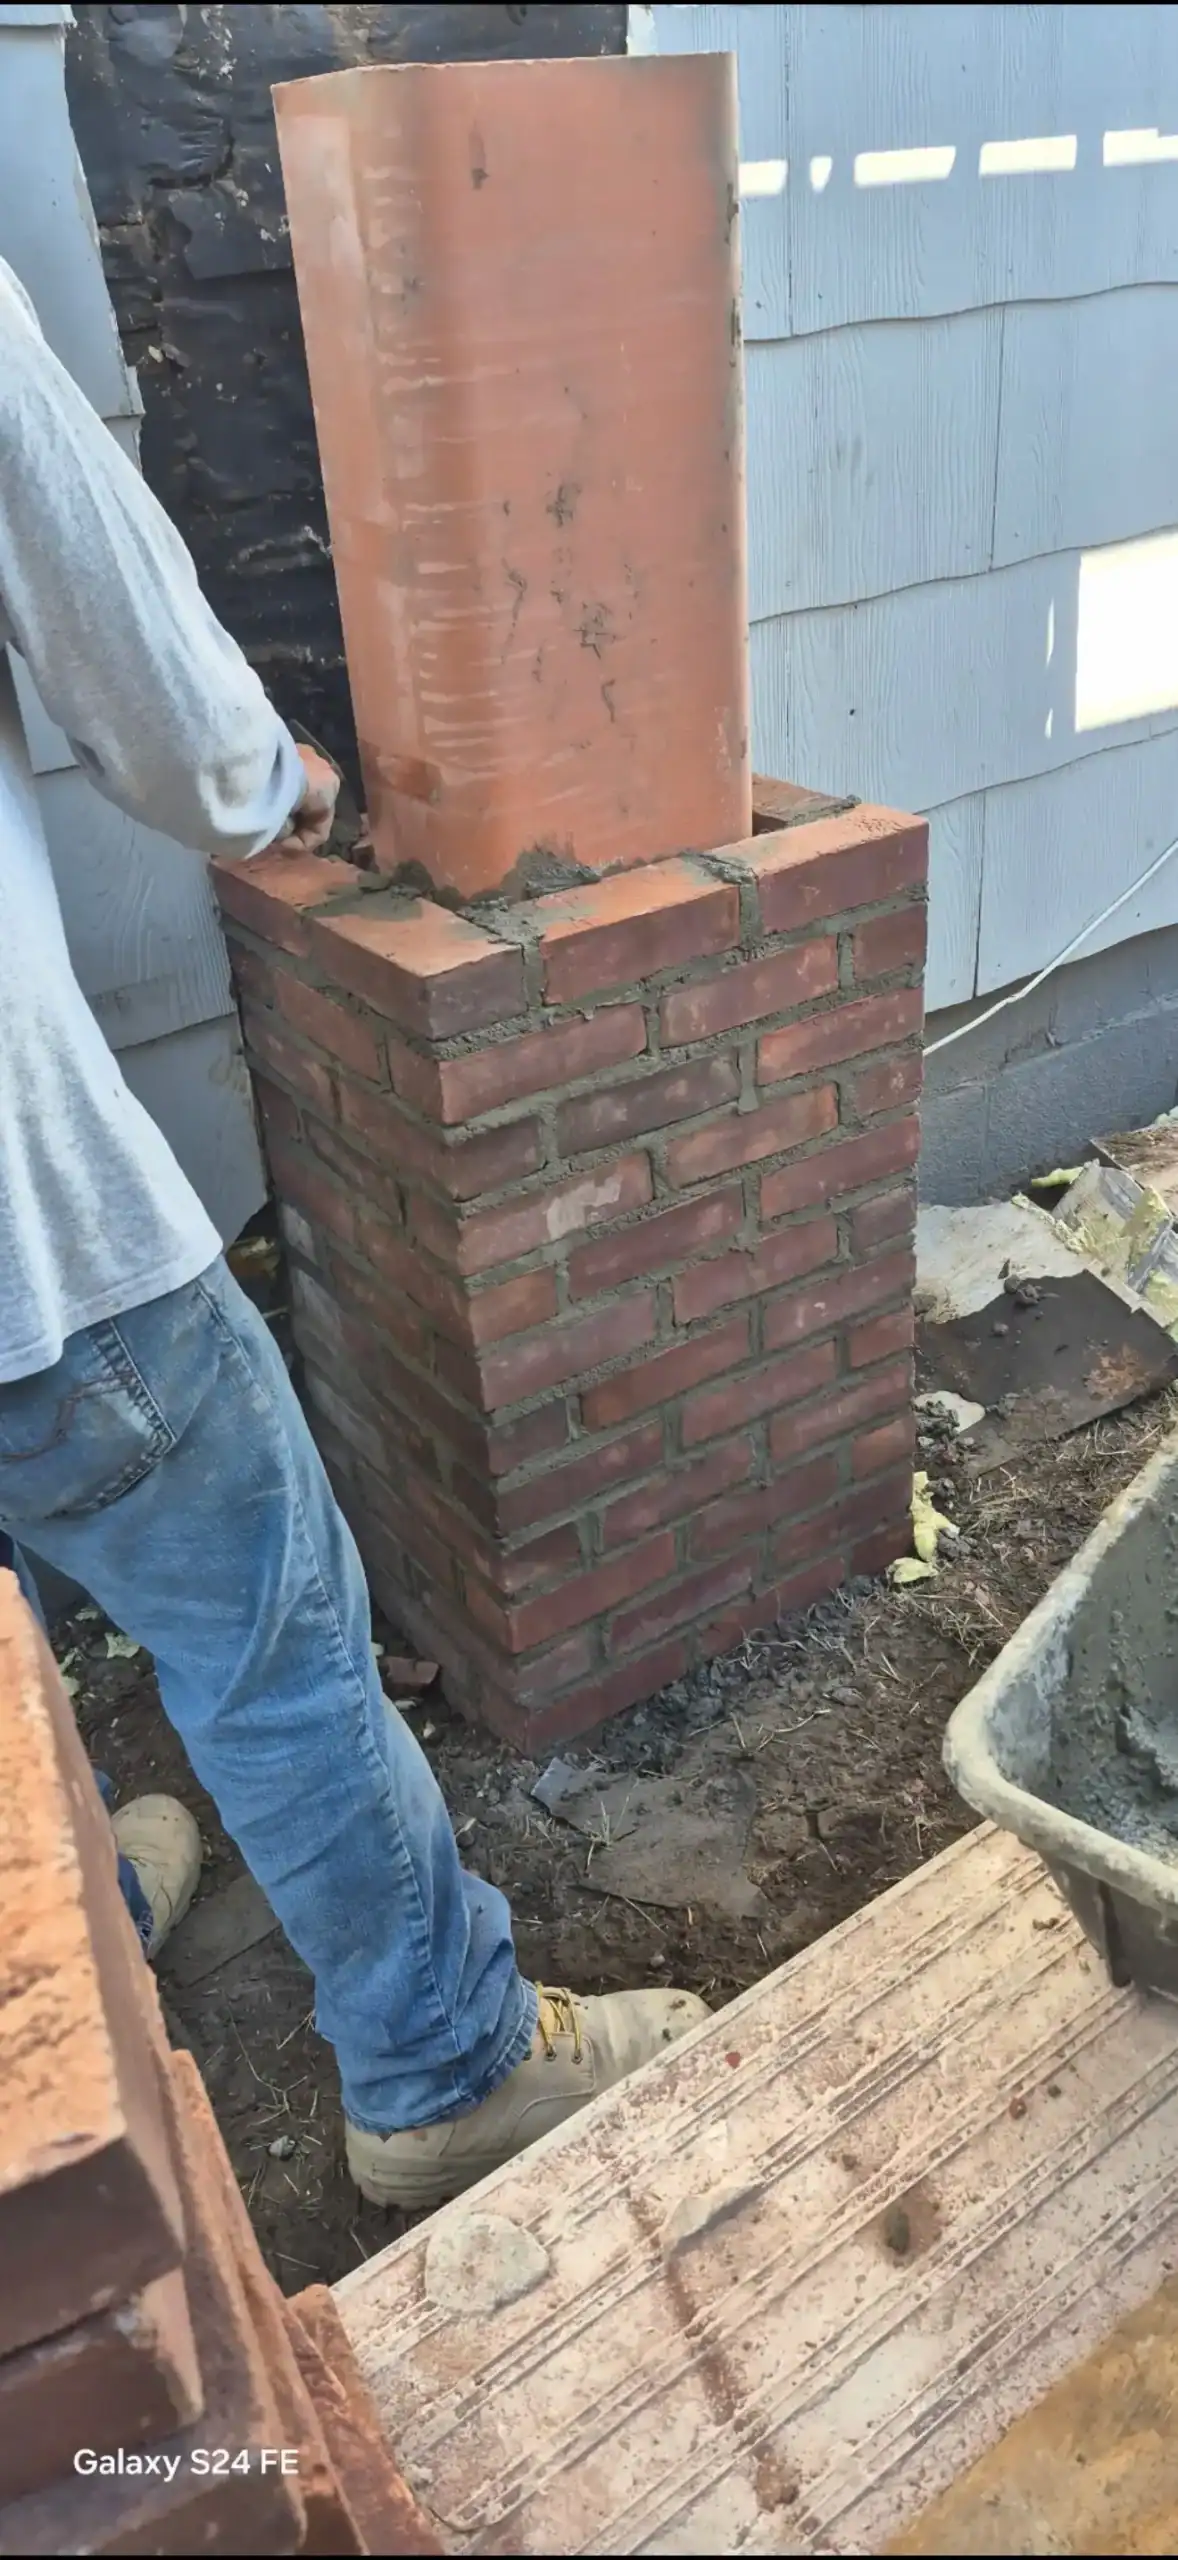
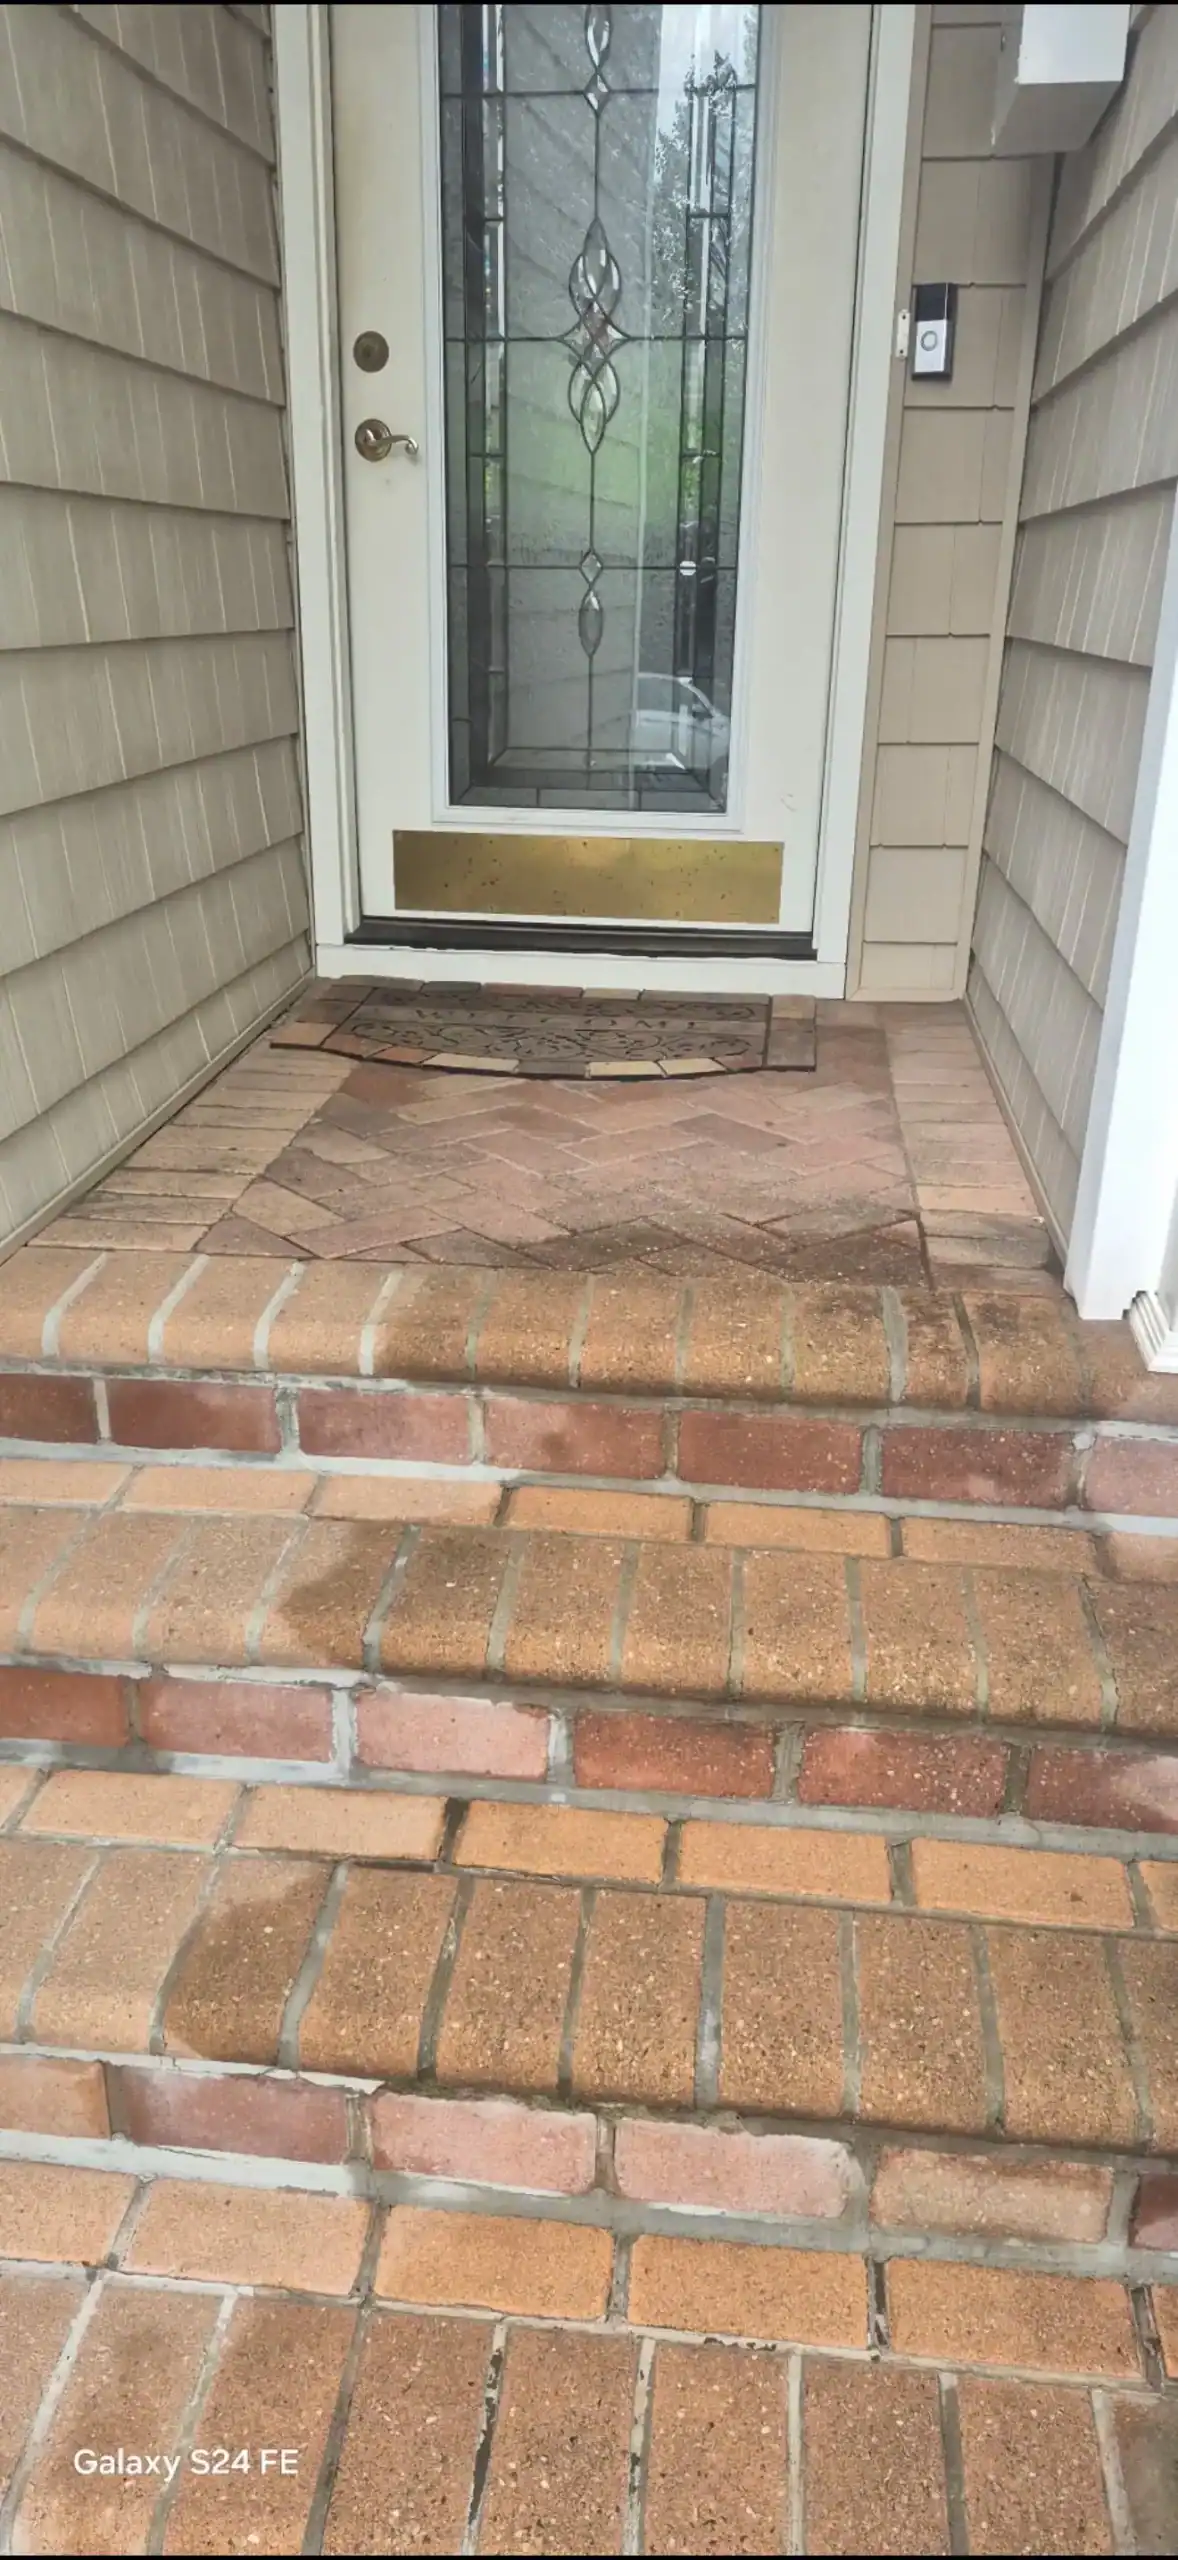
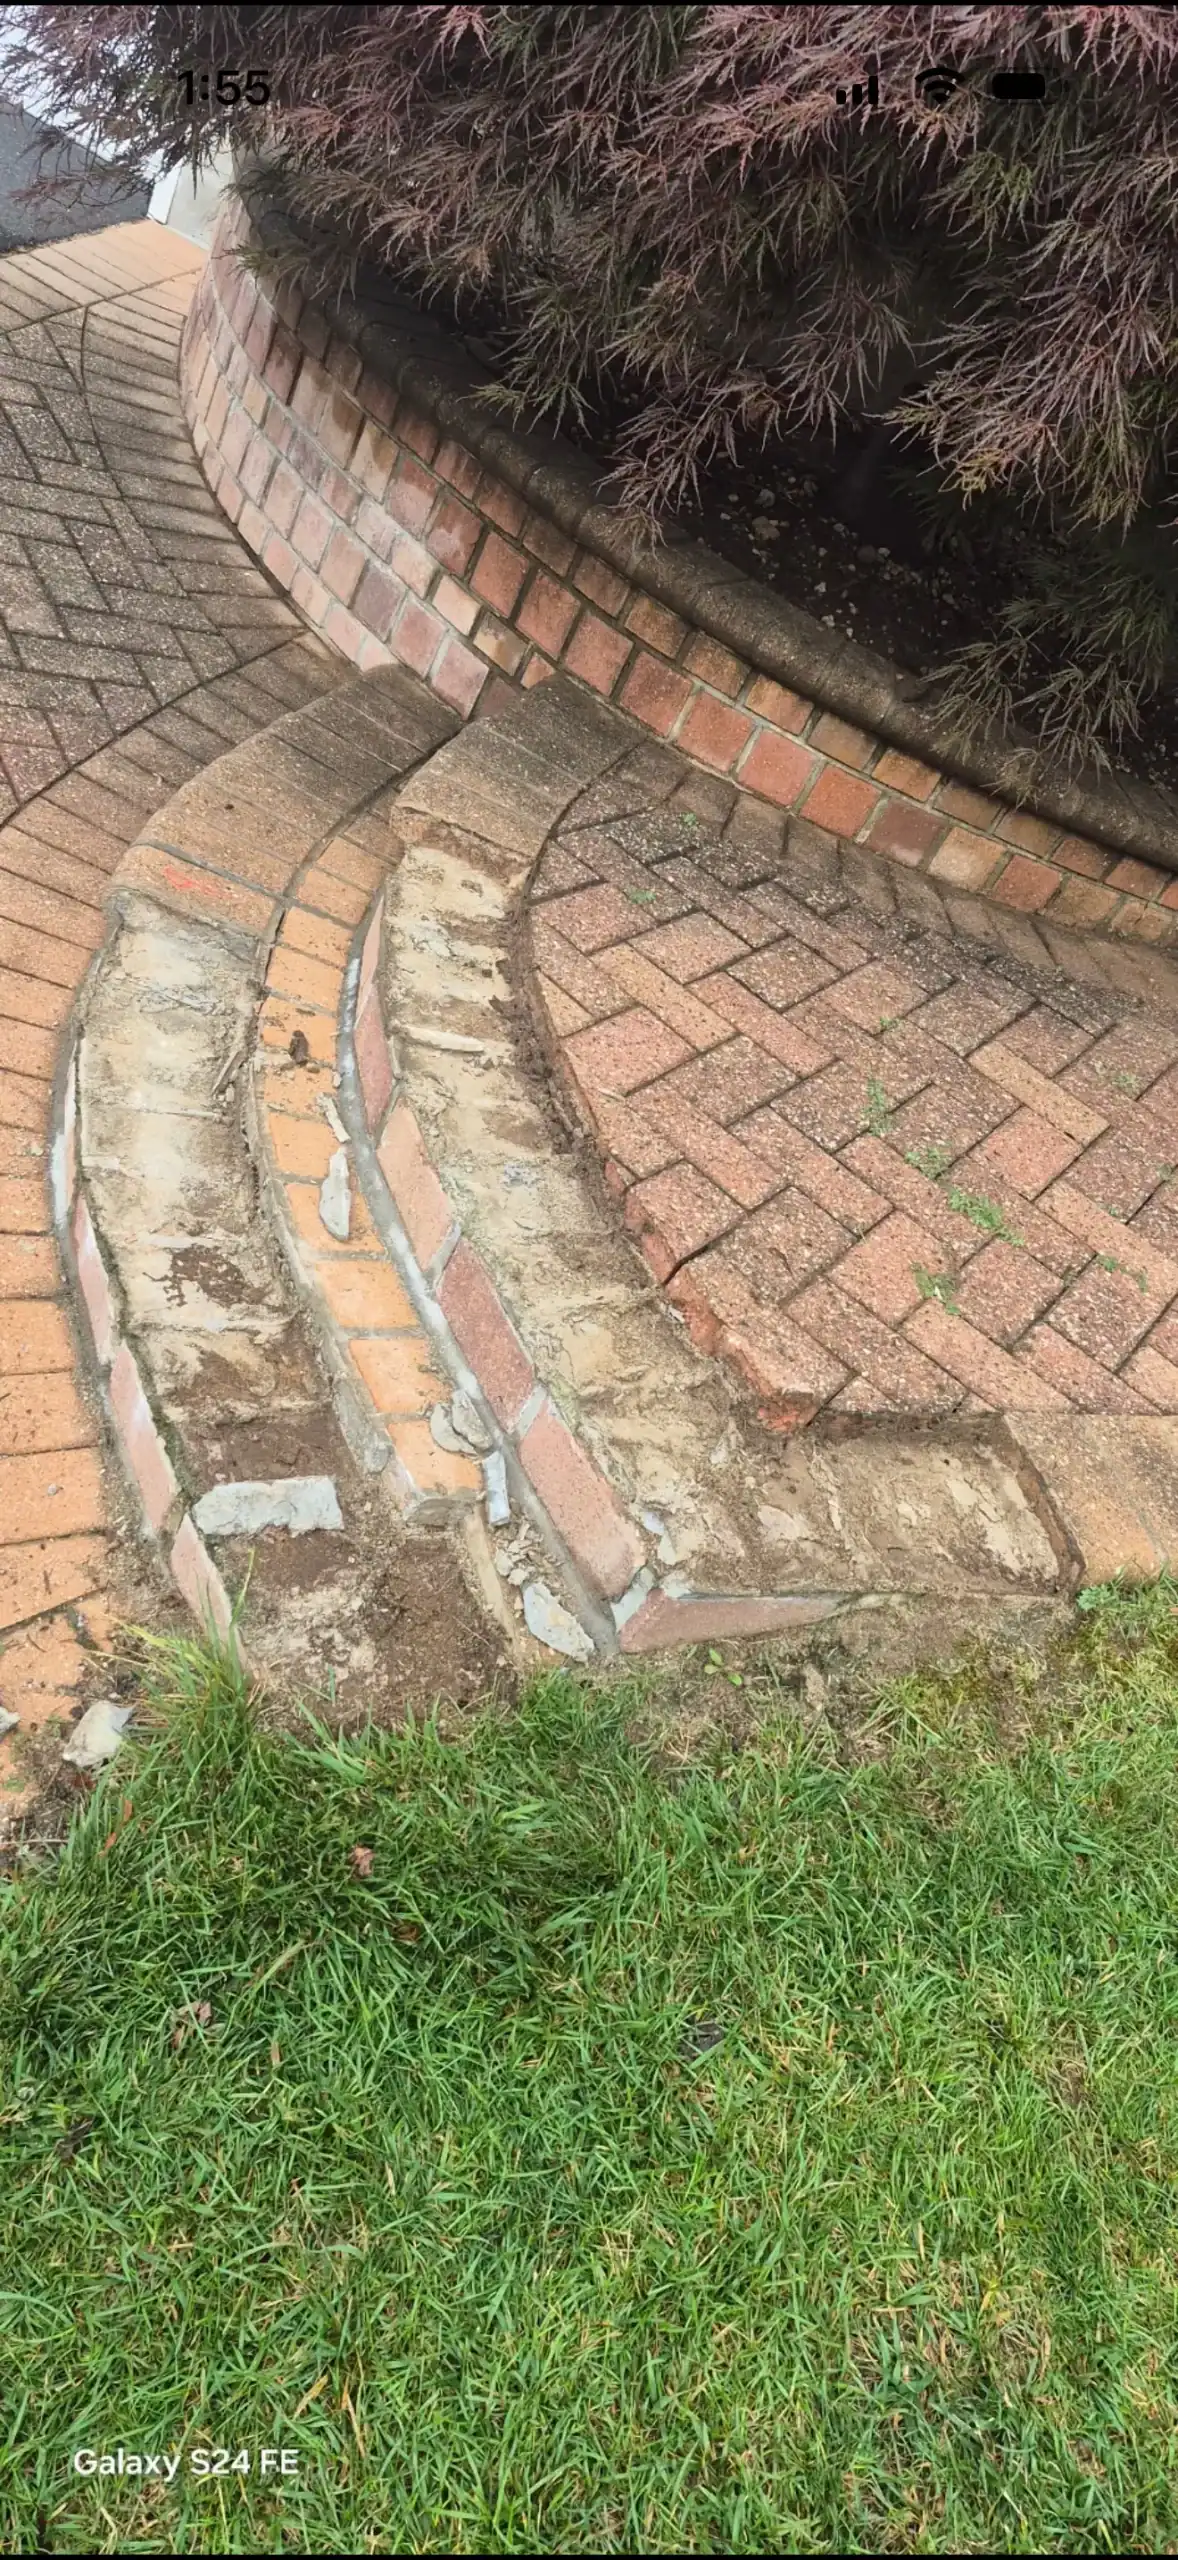
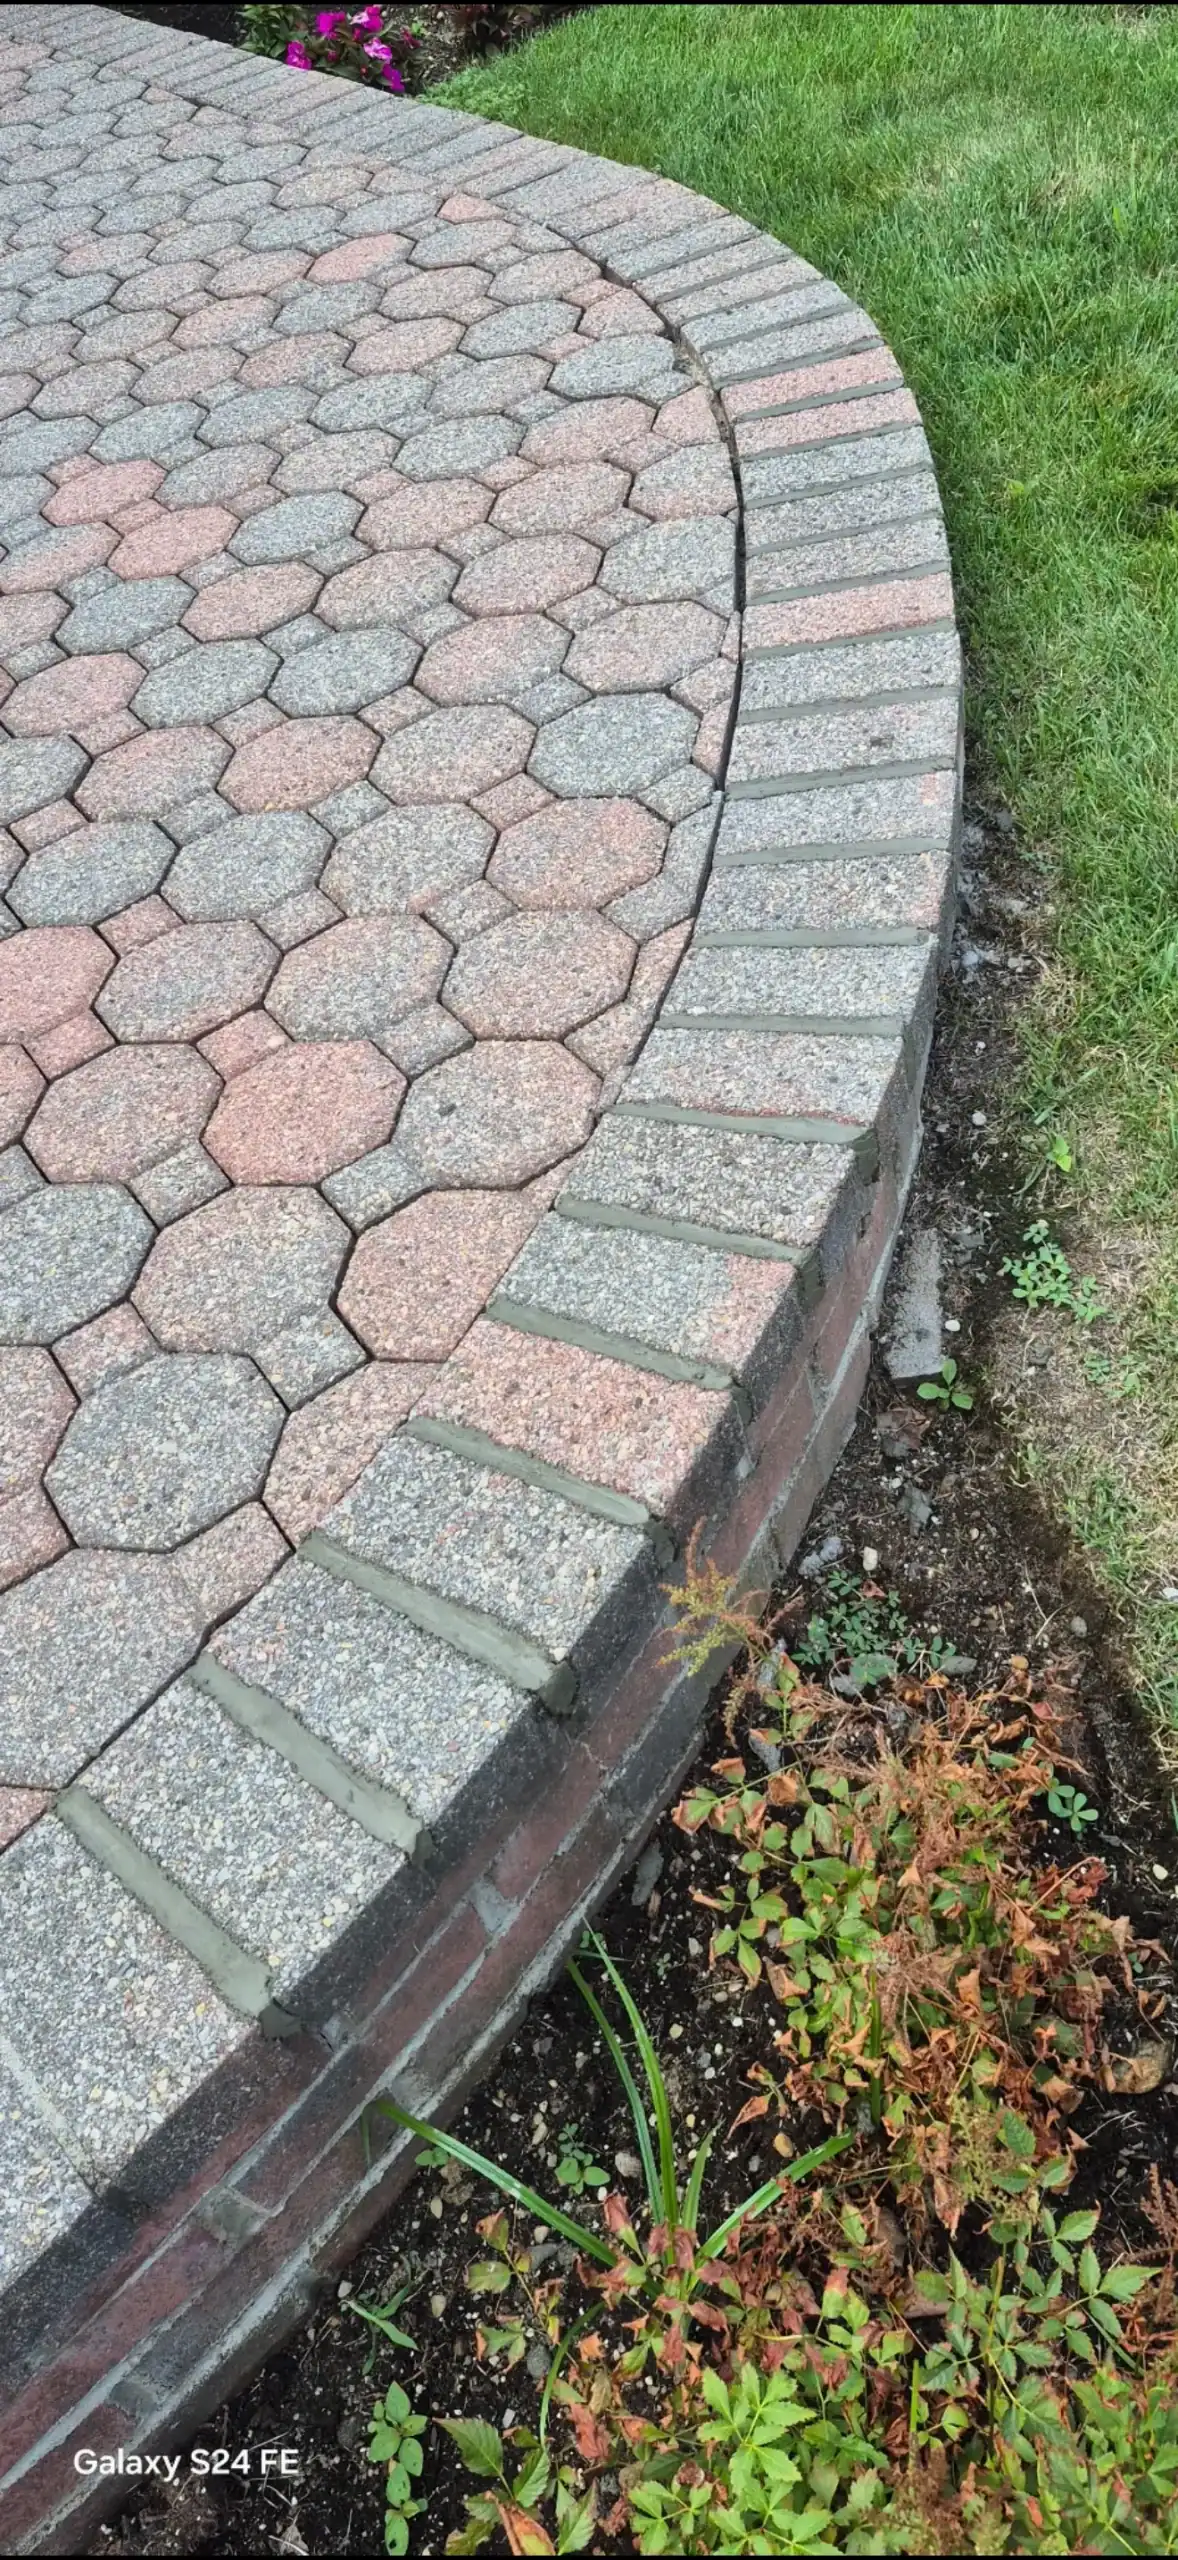
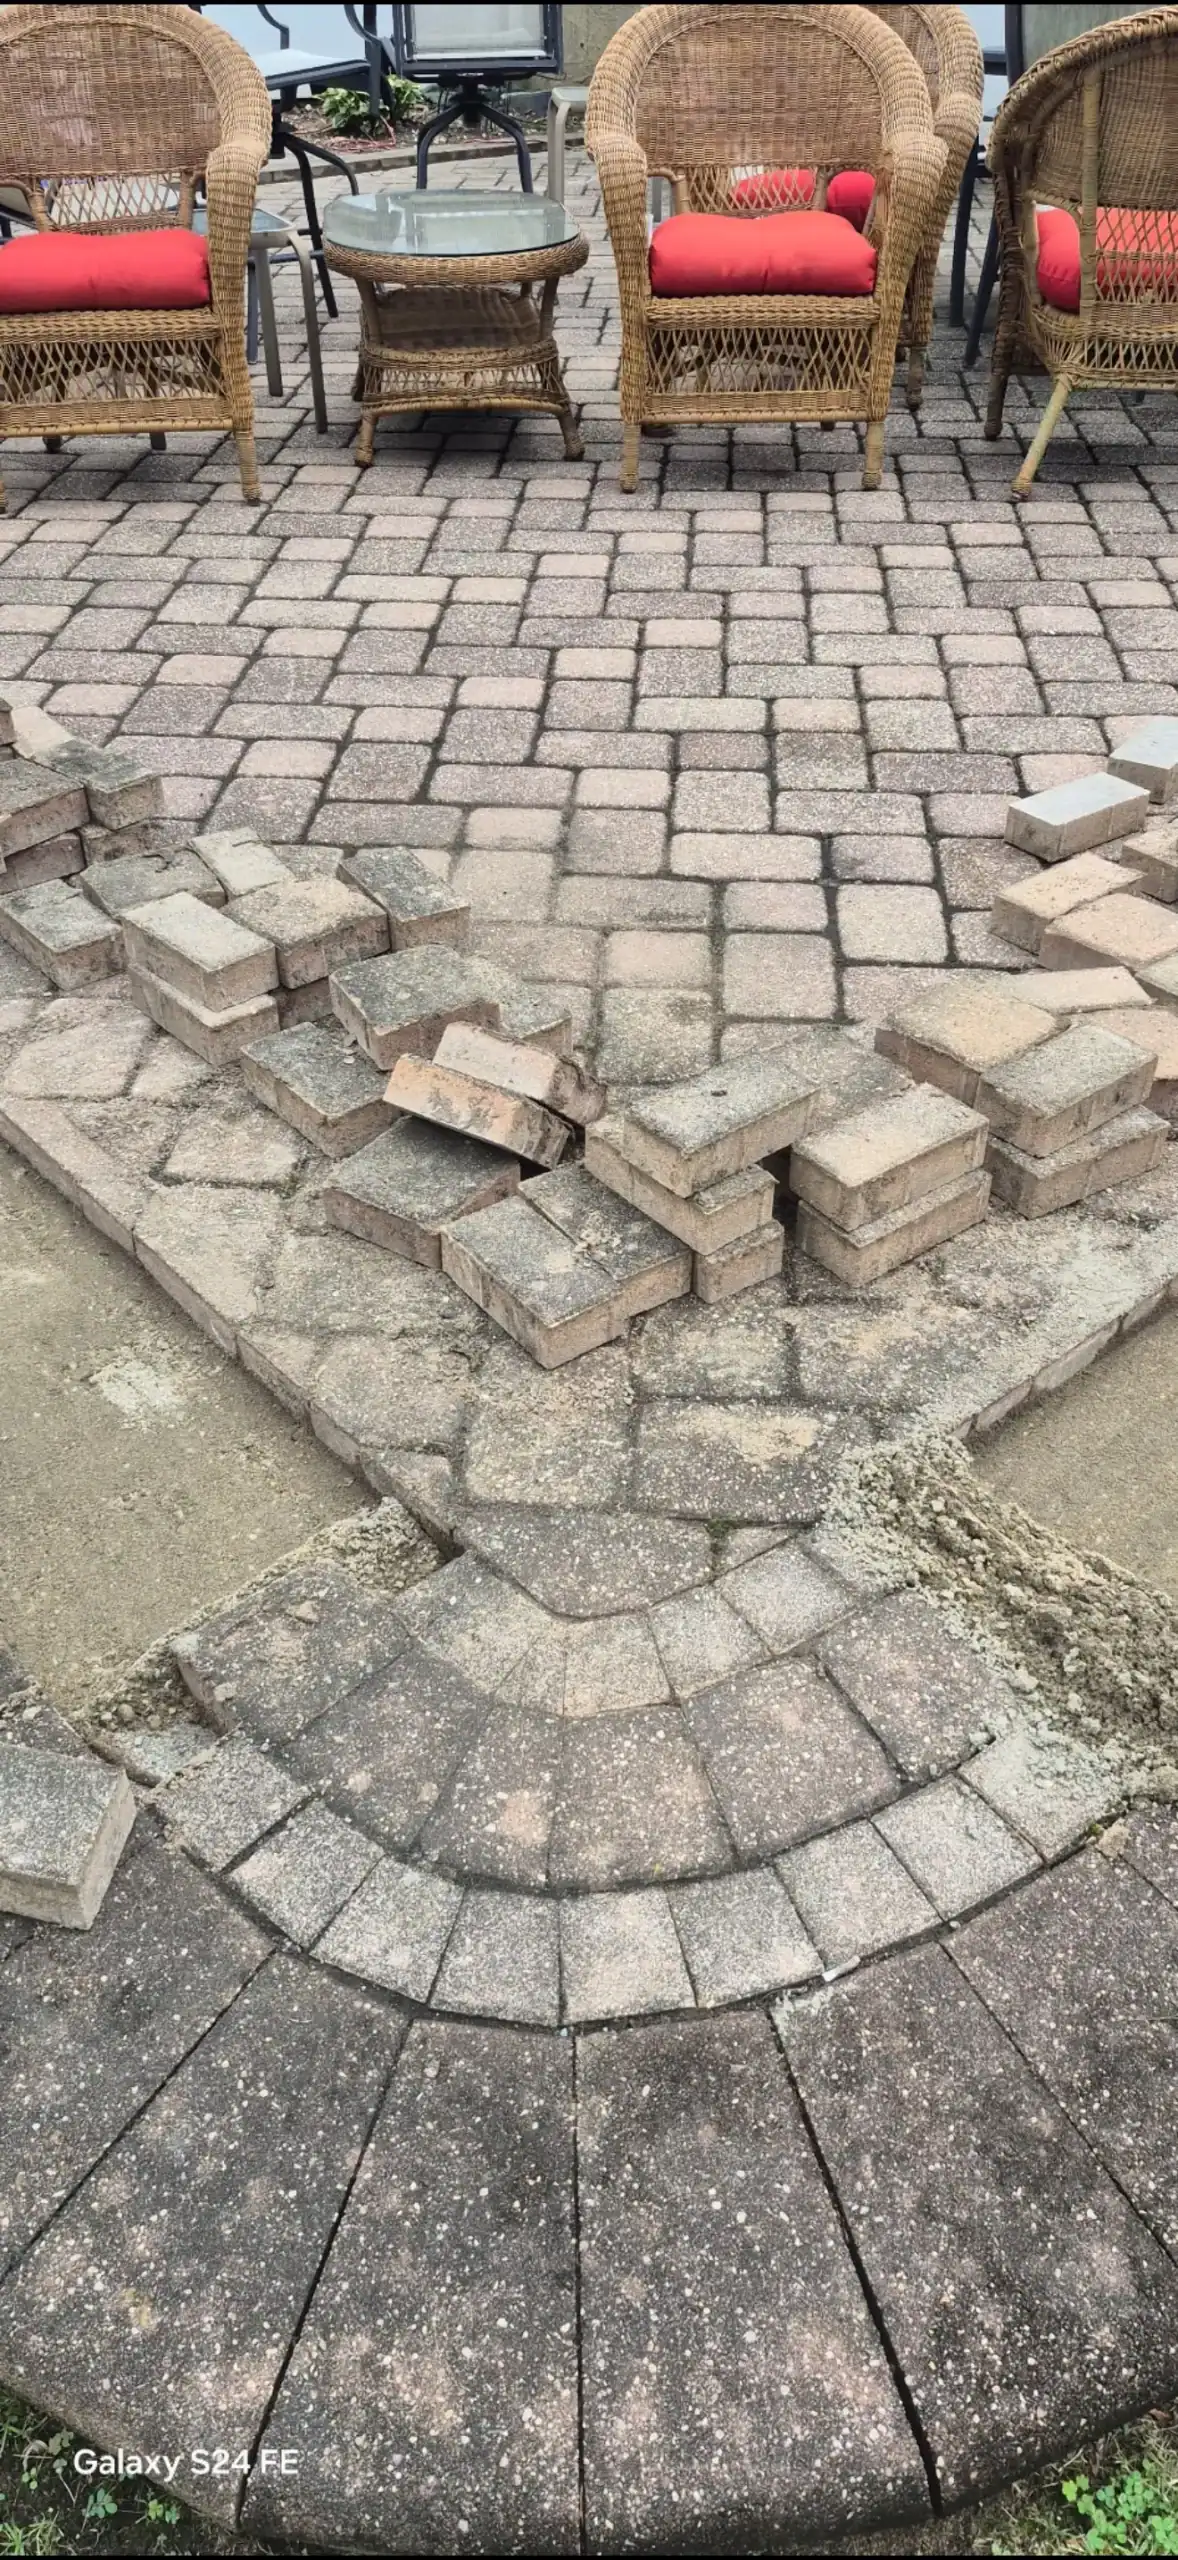
Masonry Repairs That Handle Long Island Winters

Most masonry damage shows up after winter. Crumbling mortar. Cracked brick. Spalling stone. It’s what happens when water gets in, freezes, expands, and breaks things apart. CPR Power Washing fixes it before it turns into a bigger problem. Deteriorating mortar gets removed and replaced with the right mix. Damaged brick gets assessed sometimes it’s repairable, sometimes it needs replacing. Loose stone gets reset properly. This isn’t about making it look decent for a season. It’s about stopping water infiltration, preventing structural issues, and making sure your repairs hold up through the next freeze-thaw cycle and the one after that.

Professional Masonry Solutions Long Island

What Proper Masonry Repairs Actually Do

Beyond making your brick and stone look better, the right repairs protect your home from water damage, foundation issues, and the kind of deterioration that costs thousands to fix later.

Masonry Restoration Suffolk & Nassau County, NY

We Fix What's Broken, Not Build From Scratch

Here’s what we mean. If you need a completely new patio built or an entire retaining wall installed, that’s not our lane. We’re the team you call when existing masonry needs fixing. Crumbling mortar between bricks. Cracked stone on your walkway. Spalling brick on your front steps. Loose pavers that shifted over winter. Those are the repairs we handle every day for homeowners in Suffolk & Nassau County, NY. Most of this damage comes from Long Island’s freeze-thaw cycles. Water gets into small cracks, freezes, expands by about nine percent, and creates pressure that breaks apart mortar and brick. Do that over and over every winter, and you end up with deterioration that needs professional attention. We assess what’s actually damaged, remove failed material properly, and rebuild it with techniques that work for our climate. Your repairs last instead of failing again next season.

Stone Mason Services in Suffolk & Nassau County, NY

What's Included When We Repair Your Masonry

First, we look at what’s actually happening. Is it just surface mortar deterioration, or is there structural movement? Are the bricks themselves damaged, or only the joints? That assessment determines the right fix. For mortar work, we remove deteriorated material to proper depth—not just scrape the surface. Then we repoint with mortar that matches your existing work in strength and appearance. Using mortar that’s too hard can damage older brick, so getting the mix right matters. If bricks or stones are cracked or spalling, we evaluate whether they can be stabilized or need replacing. When replacement is necessary, we source materials that blend with what’s already there. The goal is straightforward: stop water infiltration, restore structural integrity, and make sure the repair holds up to the weather conditions that caused the damage in the first place. You shouldn’t need this redone in two years because someone cut corners.
Masonry Repairs FAQs

Common Questions About Our Service

If you’re seeing crumbling mortar, cracks in brick or stone, or areas where water seems to be getting through, it’s worth having someone look at it. What starts as cosmetic often becomes structural if left alone. Mortar that’s receded more than a quarter inch from the brick face needs attention. Loose or shifting bricks mean the mortar has failed enough that stability is compromised. Spalling—where the brick surface is flaking or chipping off—indicates water is getting in and freezing, which will only get worse. Even if it looks minor now, freeze-thaw cycles accelerate damage fast. A quick assessment can tell you whether you’re dealing with a simple repointing job or something that needs more involved repair. Either way, catching it early almost always costs less than waiting until the damage spreads.
It’s the freeze-thaw cycle. Water gets into small cracks in mortar or brick—from rain, snow, or just humidity. When temperatures drop below freezing, that water expands by about nine percent as it turns to ice. That expansion creates tremendous pressure inside the masonry, widening cracks and breaking apart mortar joints. Then it thaws, and more water gets in. Then it freezes again. This happens over and over all winter long, and each cycle makes the damage worse. Long Island’s coastal location means we get plenty of moisture, and our winters fluctuate above and below freezing constantly, which is the perfect recipe for this kind of deterioration. Add in salt air from being near the water, and masonry materials break down faster here than in drier or more stable climates. That’s why spring is when most homeowners notice the damage—it’s been building all winter and finally becomes visible.
It needs to be removed. Slapping new mortar over deteriorated material might look okay for a few months, but it won’t bond properly and it won’t last. The old mortar is crumbling because it’s already failed—it’s lost its structural integrity and its ability to keep water out. If you just cover it up, water will still get behind it, and the whole patch will fail pretty quickly. Proper repointing means removing the damaged mortar to a depth of about two to two-and-a-half times the width of the joint—usually around three-quarters of an inch to an inch deep. That gives the new mortar enough surface area to bond correctly and creates a solid, water-resistant joint. It’s more work upfront, but it’s the difference between a repair that lasts decades and one that fails in a year or two. Doing it right the first time saves you from having to redo it.
For most residential repairs, you’re looking at one to two days. It depends on how much area needs work and what kind of damage we’re dealing with. A small section of repointing on your front steps might be done in a few hours. Replacing several damaged bricks and repointing a larger wall section could take a full day or two. Weather matters too—we need temperatures above forty degrees for mortar to cure properly, and we can’t work in heavy rain. Once the work is done, the mortar needs time to cure. We’ll mist it periodically for a few days to slow the drying process, which helps it reach full strength. You can usually use the area normally right away, but full curing takes about a week. Most homeowners are surprised it doesn’t take longer, especially compared to how long they’ve been putting off getting it fixed. The actual repair work is usually faster than people expect—it’s finding a reliable contractor who shows up that seems to take the longest.
That’s always the goal. For mortar, we match both the color and the strength of your existing joints. Using mortar that’s too hard can actually damage older brick, so getting the mix right matters for more than just appearance. Most homes built in the last fifty years use Portland cement-based mortar, while older homes might have lime-based mortar. We figure out what you have and match it appropriately. Color-wise, mortar can be tinted to blend with your existing work so the repairs aren’t obvious. For brick or stone replacement, we source materials that match your existing masonry as closely as possible. Sometimes that means finding reclaimed brick for older homes, or special-ordering stone in the right color and texture. Perfect matches aren’t always possible, especially with aged materials, but we get as close as we can so the repair blends in rather than standing out like a patch job.
You can technically do small repairs yourself if you have the right tools, know-how, and patience, but most homeowners are better off hiring someone who does this regularly. Here’s why. First, using the wrong mortar mix can cause more damage than the original problem—mortar that’s too hard will crack your brick, and mortar that’s too soft won’t hold up. Second, removing old mortar without damaging the surrounding brick takes practice and the right tools. An angle grinder in inexperienced hands can easily chip or crack brick. Third, proper repointing requires getting the depth right, the consistency right, the curing conditions right, and the finishing technique right. Miss any of those and your repair fails prematurely. For anything beyond a tiny cosmetic touch-up, you’re usually better off with a professional who has the experience to diagnose underlying issues, use appropriate materials, and complete repairs that last. The cost difference between DIY and professional work is usually smaller than people think, especially when you factor in buying or renting tools and the risk of making it worse.

Assessment and Honest Estimate

We look at what's damaged, explain what needs fixing and why, and give you transparent pricing without upselling unnecessary work.

Proper Material Removal and Prep

Failed mortar gets removed to the right depth, damaged brick or stone is addressed, and surfaces are prepped so new material bonds correctly.

Repair and Quality Check

We rebuild with appropriate materials and techniques, then verify the work meets standards before considering the job complete.